Apex Squad Recovery: Revive Safely and Use the Current Respawn Rules
Apex recovery systems differ across modes and have changed over time. An old instruction about banners or automatic returns should never override the current squad panel and interaction prompts. This guide uses EA references checked on October 18, 2026 and original decision examples. It focuses on protecting the remaining squad, using the recovery options actually available and giving a returning player a practical next position. It does not promise a rescue is possible in every encounter.
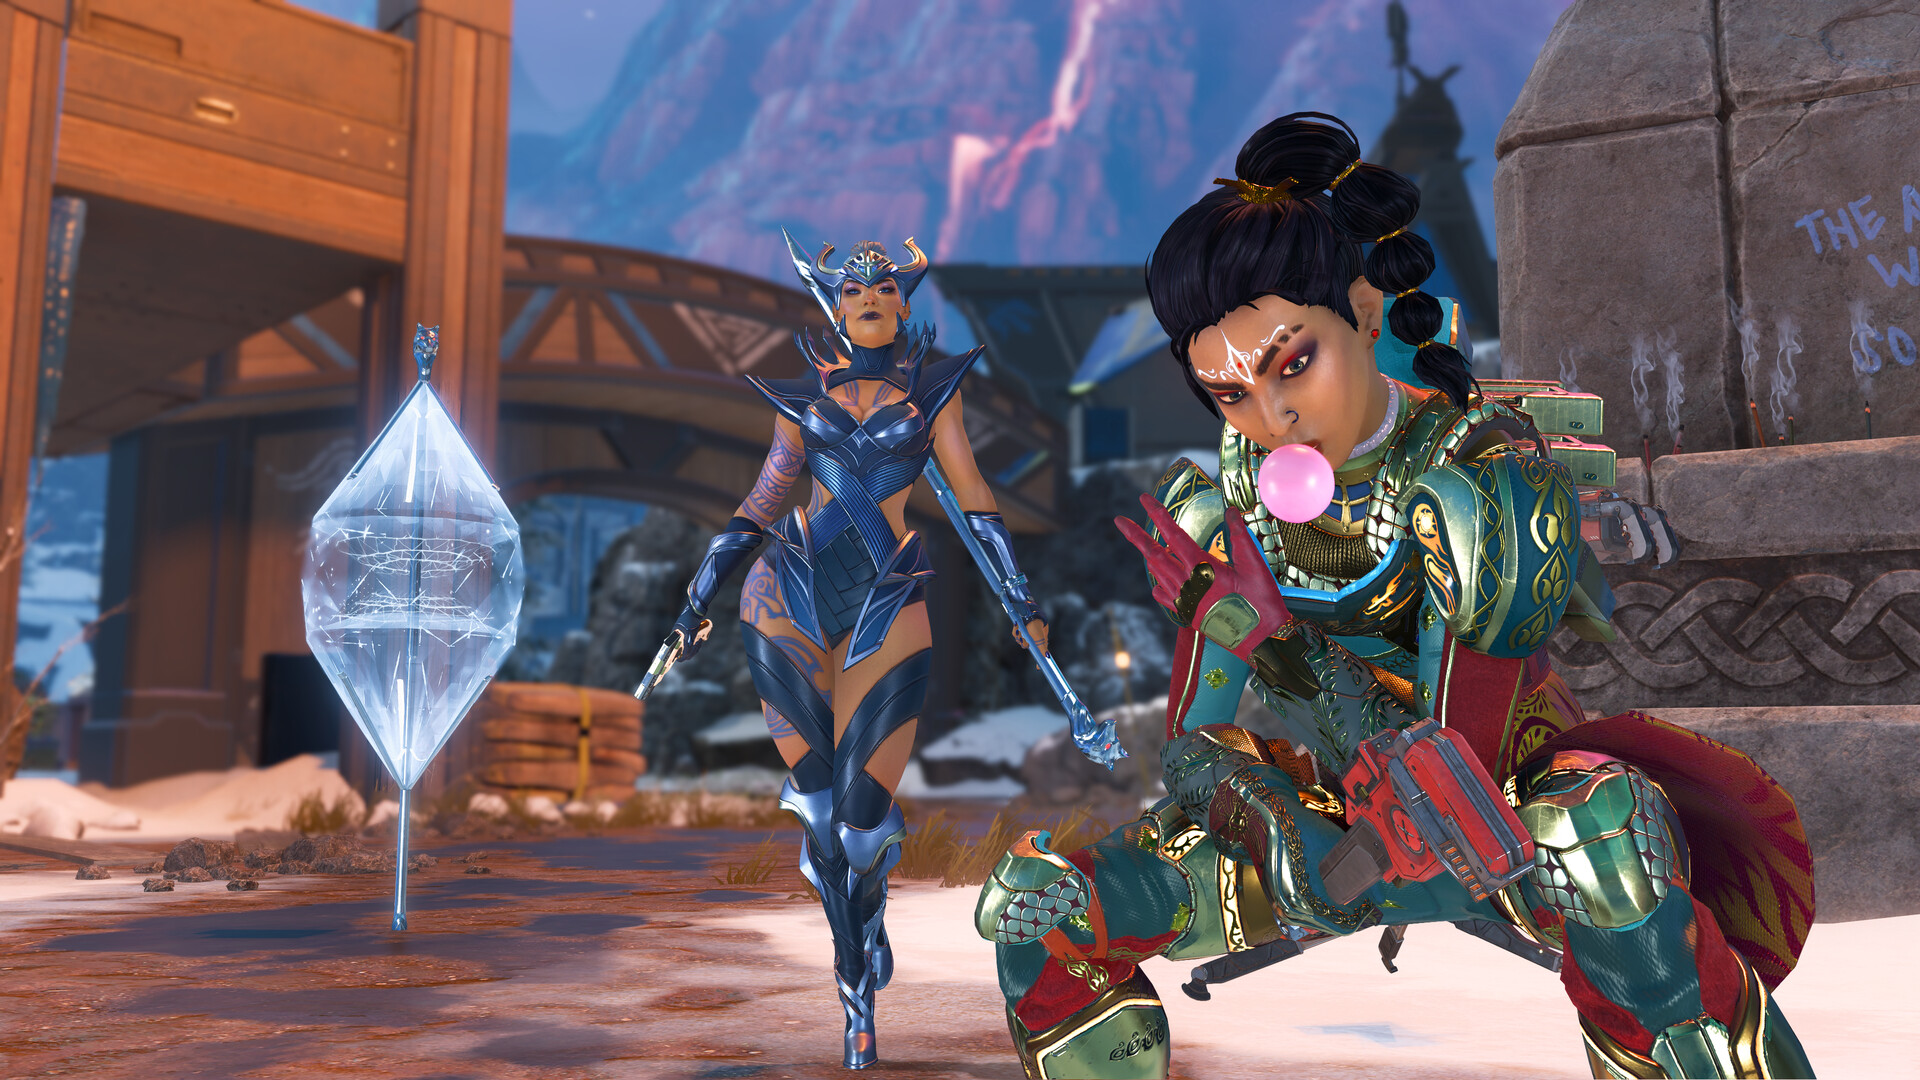
Official game screenshot · Electronic Arts. Publisher-provided public store media used to illustrate independent editorial discussion. Copyright remains with the respective rights holders; no redistribution license is offered.
Identify the state and the mode before acting
Read whether the teammate is knocked, eliminated, waiting on a mode-specific return or otherwise eligible for recovery. Check the selected mode rather than assuming Wildcard and Core share the same process. A knock may allow an ordinary revive, while elimination can require a different interaction. Listen to the teammate's useful threat information and inspect the visible markers. Do not rush to a memorised objective without checking that it exists in this match. The immediate goal is to understand what action is actually available and what danger would interrupt it. A correct state reading prevents an unsupported rescue from becoming the squad's final mistake.
Make the revive position defensible
Break the enemy's direct angle, prevent an immediate push or use cover and a supported ability before beginning the interaction. If the knocked teammate can reach a safer spot under the current rules, ping it clearly. One player can watch while another revives when the squad and terrain permit. Avoid placing every surviving teammate inside the same vulnerable doorway. The fact that the interaction prompt appears does not mean the action can finish safely. Listen for footsteps and react to changing pressure. A short delay to secure the approach can preserve the remaining players; an immediate revive in full view can lose both at once.
Read the current Core recovery options
EA's current Ranked documentation describes banner crafting and direct death-box recovery options in Core. The exact available interaction, location and eligibility should be read from the client. Do not repeat the outdated blanket claim that only one class can ever craft a banner. Check what your current squad can do, then choose the route that is realistically accessible. If the original death location is heavily controlled, a supported alternative may avoid repeating the losing fight. If no route is available, communicate that clearly. Recovery information is useful only when it matches the mode and current interface, so revisit it after meaningful updates.
Choose a recovery location by the return it creates
A nearby beacon or interaction may be exposed, outside the useful ring route or watched by another squad. Compare the travel, cover and equipment available for the teammate after returning. The nearest marker is not automatically the safest destination. Move with enough support to react if opponents appear, and consider the visibility or sound of the process. Before committing, identify the next regroup point and an exit. A completed return that places an unprepared teammate under immediate fire may not restore a functional squad. Plan the few seconds after the interaction as carefully as the approach to it.
Prepare equipment and a short situation update
Set aside a usable weapon, appropriate resource and necessary recovery when doing so is safe. Ping the regroup point and explain the dangerous direction in one short message. The returning player should know whether to loot nearby, follow immediately or stay in cover while supplies are shared. Do not require everyone to stand exposed while inventories are reorganised. One teammate can watch as another distributes essentials. The aim is enough equipment to move and defend, not a perfect loadout. If the ring or a new threat is approaching, leave optional items behind and reset at the next position.
Work through a contested death-box decision
Imagine a teammate is eliminated in a courtyard watched from an upper window. The survivors should first inspect whether a covered side route or an available alternative recovery interaction avoids that sightline. Running through the same courtyard simply repeats the original disadvantage. If an enemy moves and a brief safe collection window appears, one player can act while another watches the window and exit. If the window never exists, withdraw and use a genuinely available alternative rather than promising an impossible rescue. Keep the eliminated player informed without arguing. The best decision preserves a real chance of return while protecting the players who can still act.
Review the rescue separately from the original knock
A teammate's initial mistake and the squad's recovery attempt are different decisions. After the match, identify where the rescue had a playable window and whether the team recognised it. Did everyone leave the same approach unwatched, misunderstand the mode or fail to prepare equipment for the return? Correct that specific habit. Avoid turning recovery into a blame ritual or treating every failed rescue as a lack of effort. Some positions are no longer recoverable. A strong team communicates the facts, uses current mechanics and preserves the best remaining opportunity instead of sacrificing all players to prove loyalty.
Your working checklist
Checkmarks stay in this browser when storage is available. They do not alter your game or connect to your account.
Put it into practice
- Identify knock, elimination or mode-specific return state before choosing an action.
- Secure the immediate angle before reviving and keep another player able to react when possible.
- Read the available recovery options from the current Core or Freestyle interface.
- Choose a location with cover and a useful route after the teammate returns.
- Share essentials, communicate the threatened side and leave before optional looting endangers the reset.
Before you finish
- The guide being followed matches the selected mode and current recovery prompts.
- The interaction is not being attempted merely because a marker is nearby.
- Surviving teammates retain a watched angle and an escape during the attempt.
- The returning player has a practical position and enough equipment to continue.
Common questions
Can only Support Legends craft banners?
Do not rely on that old blanket rule. EA's current Core guidance describes broader banner crafting eligibility, with additional Support interactions. Check the current mode and client prompt to determine the option your squad actually has.
Should we always return to the original death box?
Evaluate enemy control and the recovery options currently available. A different supported route may avoid an impossible courtyard or building. If you do approach the box, use cover, a watched angle and an exit rather than repeating the original losing fight.
Why did a return happen automatically in another mode?
Core and Freestyle use different recovery systems, and limited-time modes can add further changes. Read the selected playlist's current rules. Do not assume an automatic-return experience teaches the same resource and interaction decisions as Ranked.