
Apex Legends Beginner Roles: Choose a Legend You Can Use With Your Squad
Learn an accessible ability routine, understand Core class roles and prepare a backup pick without relying on a tier list.
Read the guide ↗Independent Apex Legends guides to landing, inventory, healing, rotations and squad recovery, with current-mode checks.
Explore the practical toolkit ↗Eight detailed walkthroughs.
20 complete guides in this journal.
Learn an accessible ability routine, understand Core class roles and prepare a backup pick without relying on a tier list.
Read the guide ↗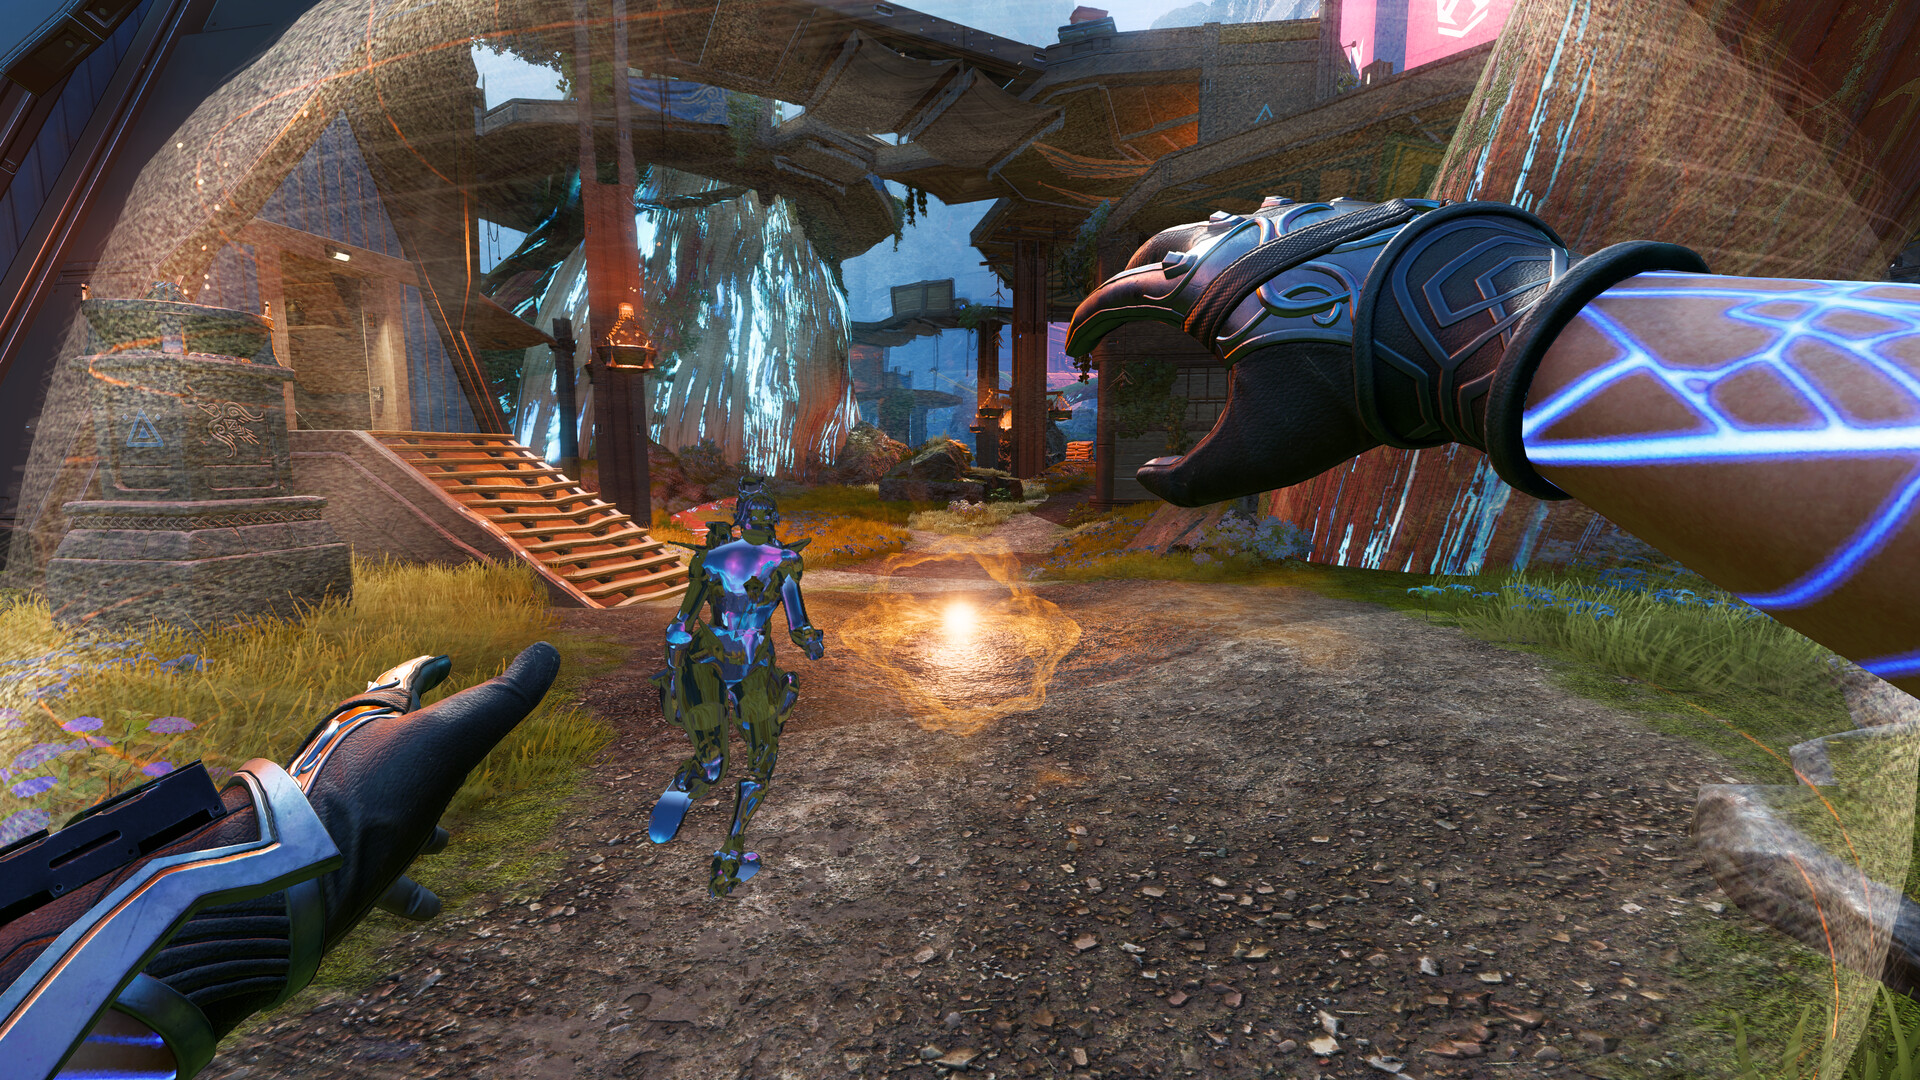
Distinguish health, shield charge and upgrades, then choose recovery that fits the time and protection available.
Read the guide ↗
Adapt to the displayed drop format, spread across connected loot and leave with a functional squad instead of a perfect backpack.
Read the guide ↗
Read ring timing, use intermediate cover and avoid fights that turn an ordinary rotation into a desperate crossing.
Read the guide ↗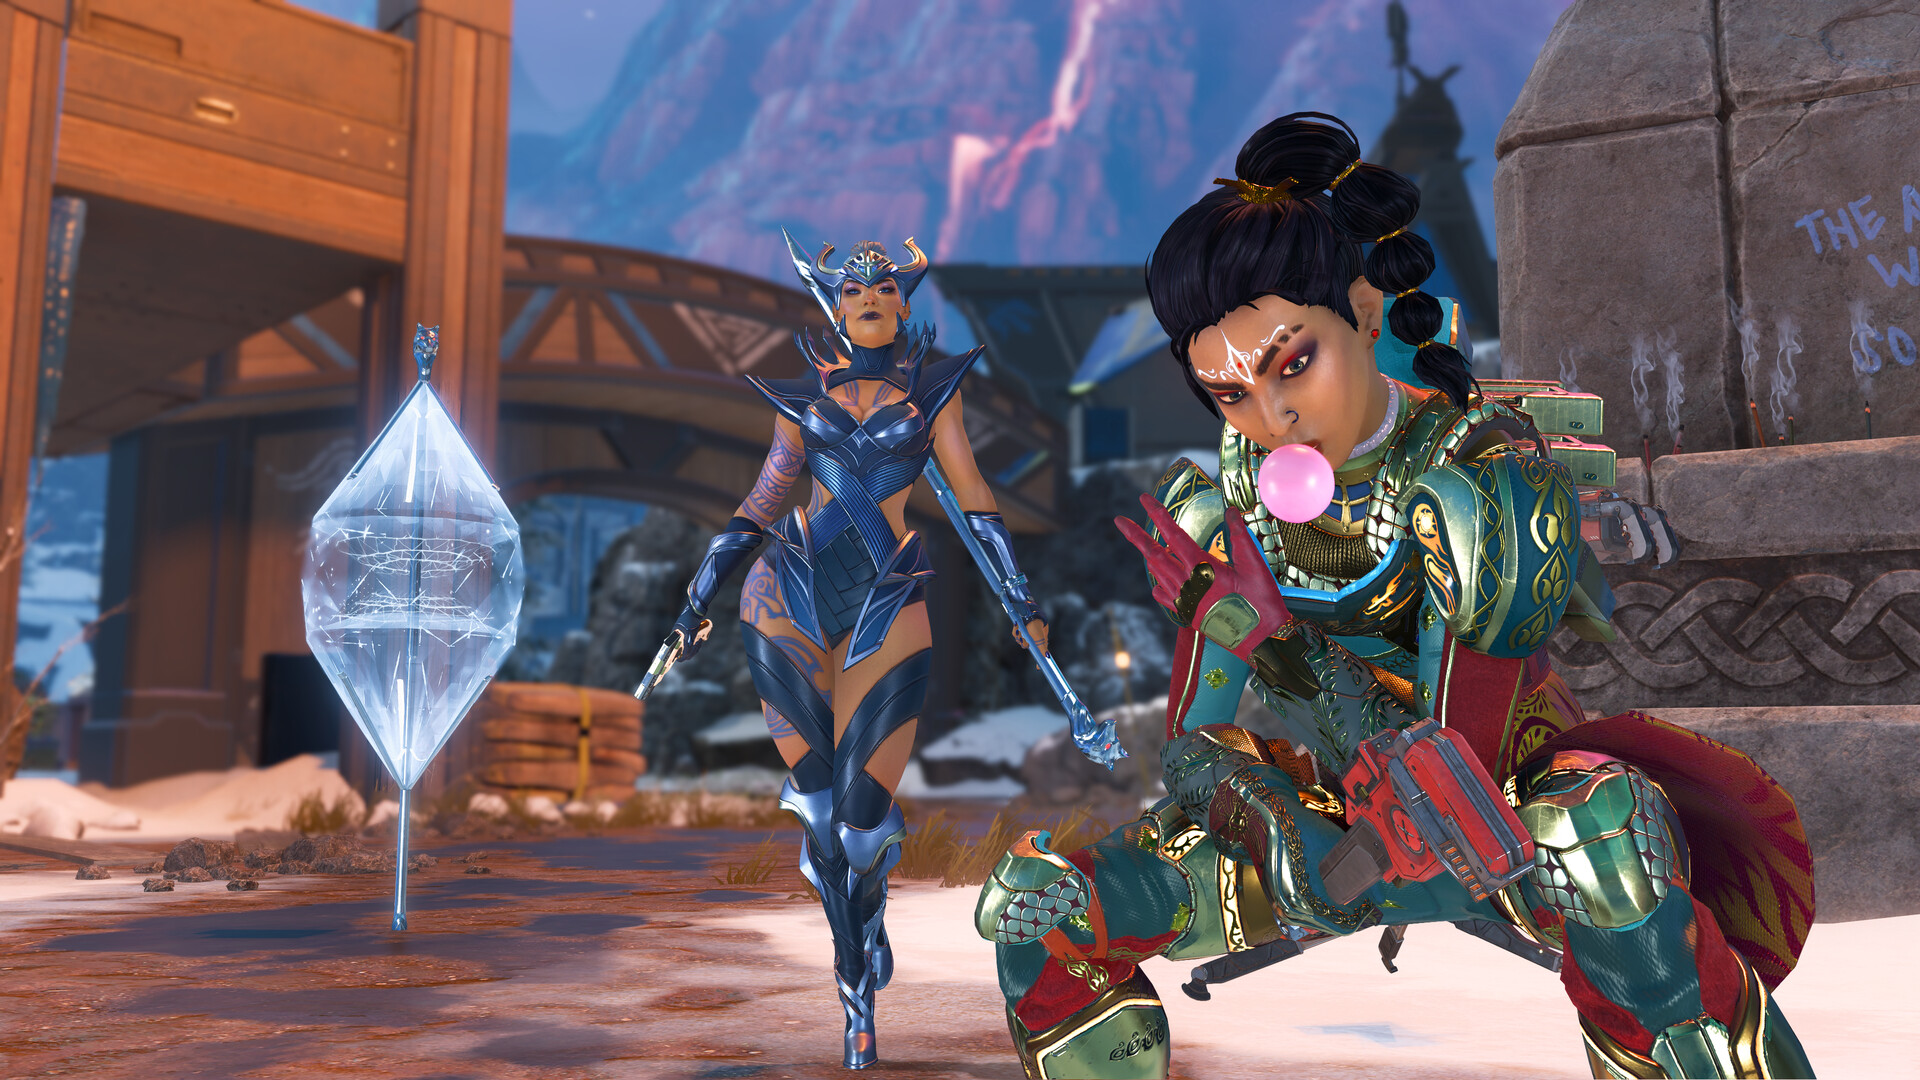
Distinguish a knock from elimination, check the mode-specific recovery route and prepare a useful return for your teammate.
Read the guide ↗
Match resources to current weapon systems, remove dead weight and balance ammunition, recovery and useful ordnance.
Read the guide ↗
Use a focused Firing Range routine to separate sensitivity, tracking and weapon control before adding live-fight pressure.
Read the guide ↗
Use pings and short calls to coordinate pressure, retreat and recovery while separating confirmed facts from guesses.
Read the guide ↗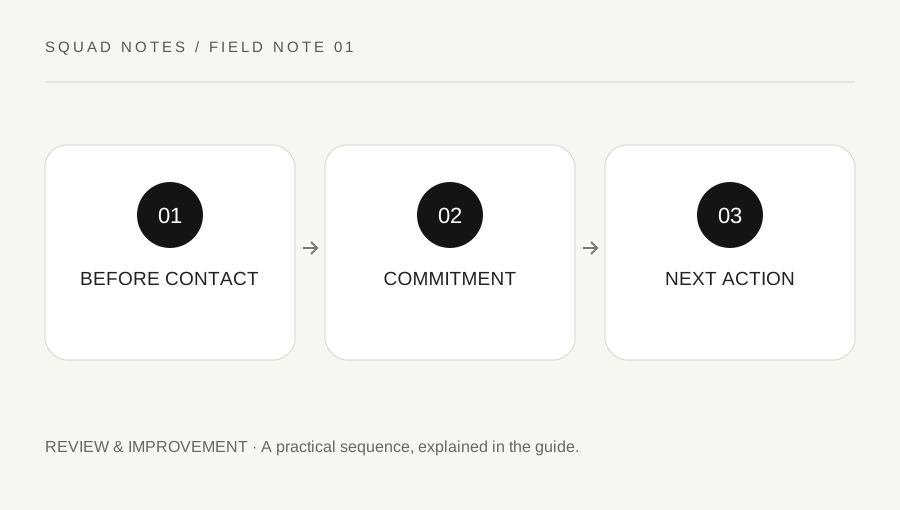
A lost fight is not always an aiming problem. Review the information, position and options available before the final exchange, then choose one decision you can practice in the next session.
Read the complete guide ↗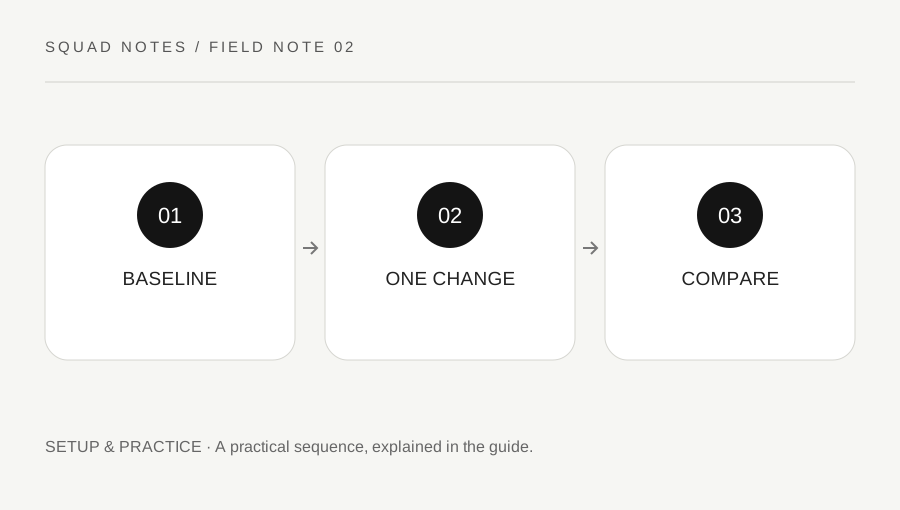
A copied sensitivity number does not describe your whole input setup. Record the current configuration, choose one measurable task and compare a small change before using it in a match.
Read the complete guide ↗
Stutter, delayed response and packet loss can feel similar during a fight. Read the available performance information and follow a small diagnostic sequence before changing unrelated game settings.
Read the complete guide ↗
Settings should help you recognize useful information comfortably. Test visibility, sound and available accessibility options separately instead of copying a competitive preset that may not suit your display or hearing needs.
Read the complete guide ↗
Hearing another fight does not automatically make joining it worthwhile. Compare the information, travel time and return route before turning someone else’s exchange into your squad’s commitment.
Read the complete guide ↗
Entering a building changes the angles that can see you and the routes your squad can support. Use a small entry plan rather than treating the nearest doorway as the automatic way forward.
Read the complete guide ↗
Height can improve a view while exposing a squad to other directions. Evaluate the actual cover, supporting angles and exit before treating any roof or ridge as an automatic advantage.
Read the complete guide ↗
A grenade is more useful when it has a clear purpose. Identify the cover, route or timing window you want to affect, then connect the throw to a squad action instead of judging it only by damage.
Read the complete guide ↗
An available ability is not automatically a reason to press it. Read its current function, identify the squad action it should support and check whether teammates can use the opportunity.
Read the complete guide ↗
A mode is useful when its rules give you repetitions of the task you are learning. Read the current mode description and choose deliberately rather than expecting every playlist to teach the same decisions.
Read the complete guide ↗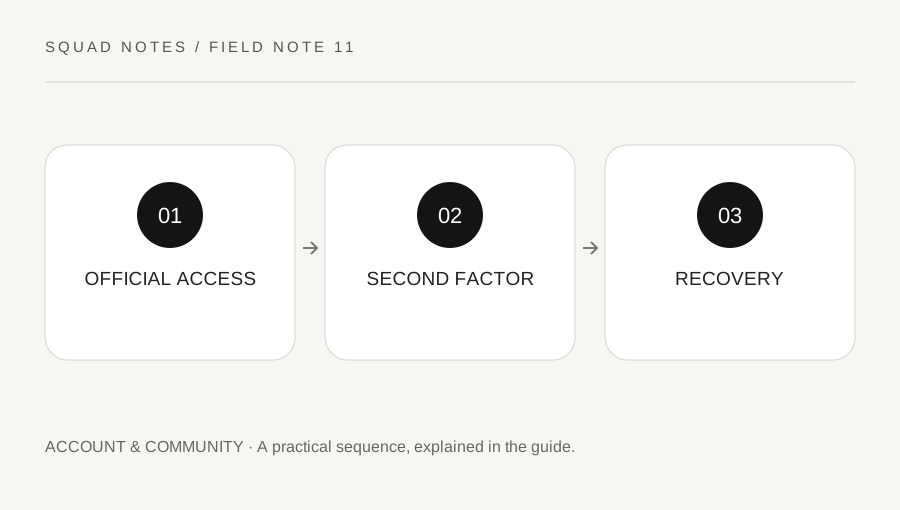
Account access is part of maintaining a playable setup. Use official EA security controls, keep recovery access available and treat requests for passwords or verification codes as a reason to stop and verify the source.
Read the complete guide ↗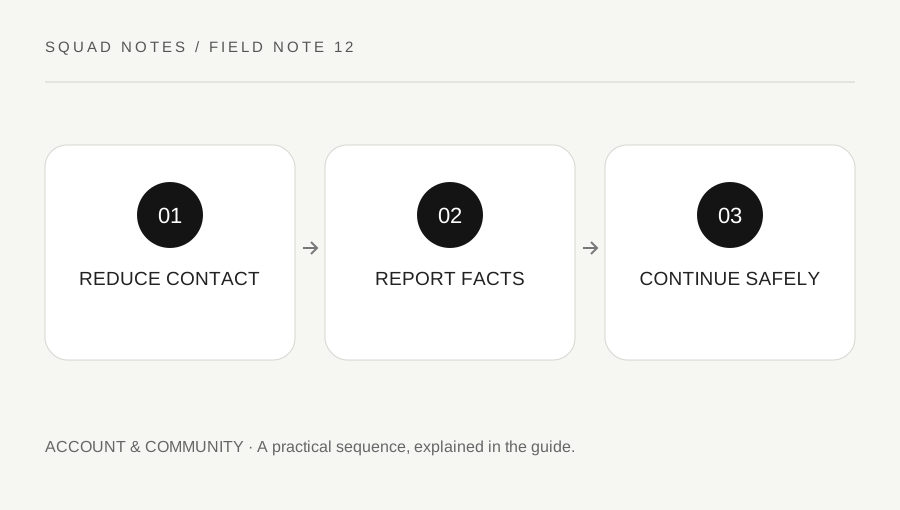
Muting and reporting serve different purposes. Use the current in-game controls to reduce disruption, report conduct through the appropriate route and keep the evidence factual rather than escalating the encounter.
Read the complete guide ↗