Apex Landing and Loot Priority: Start Together With Equipment That Works
Apex opening rules vary by mode and lobby. The first useful decision is identifying the drop format actually displayed, then organising nearby loot and support. This guide uses EA references checked on October 18, 2026. It is not a permanent best-location ranking. Map rotations, assigned zones and item systems change, so the examples describe adaptable decisions rather than promising a named building always contains a specific weapon or attachment.
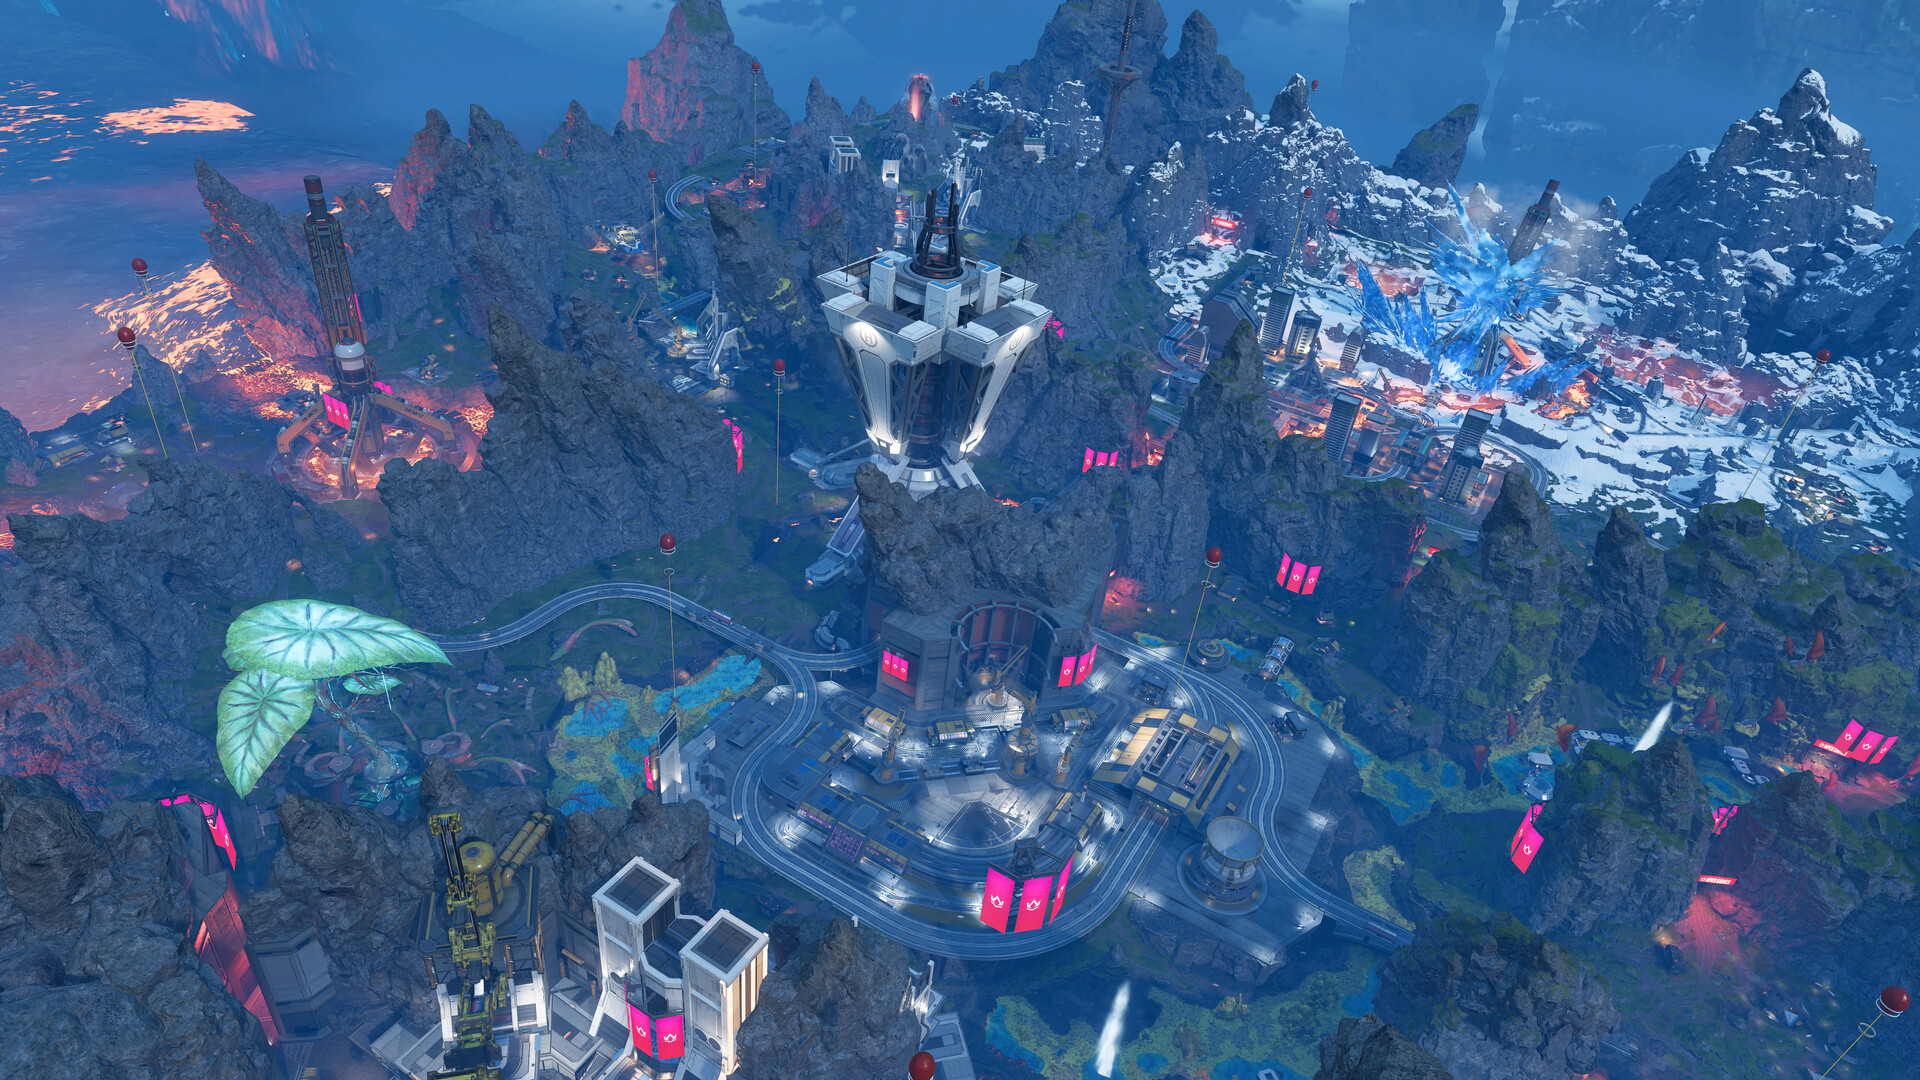
Official game screenshot · Electronic Arts. Publisher-provided public store media used to illustrate independent editorial discussion. Copyright remains with the respective rights holders; no redistribution license is offered.
Identify the actual drop format
Read the match loading screen and lobby information before following an old landing tutorial. EA's current Ranked guidance distinguishes Dropship and Drop Zone formats depending on the lobby. Follow the displayed system rather than assuming every match begins with an unrestricted Jumpmaster choice. If a destination is assigned, organise the local landing and loot route around it. If the squad chooses a route, agree on a practical location and backup. The shared principle is maintaining a functional opening: nearby equipment, connected cover and teammates close enough to help. Do not improvise a distant invasion without telling the squad what changed.
Pick connected spaces rather than one shared pile
A good opening area lets teammates collect different items while still supporting a fight. Choose adjacent rooms, floors or buildings with a short practical route between them. Distance on the map can be deceptive when a wall, elevation change or long stairway separates players. Watch nearby enemy landings and redirect before committing to a lost first item. If an opponent arrives in your intended room first, a quick move to a backup may be better than an unarmed contest. Ping the change so the squad does not believe you are still covering the original space. Connected looting is a team pattern, not three isolated speedruns.
Secure a usable weapon and understand its resource
Take a weapon you can operate before comparing every upgrade. Read its ammunition or resource display, because the current weapon systems are not identical across all types. Confirm that the supplies you pick up actually support the gun in hand. A desirable weapon with no usable resource can be worse than an ordinary functioning option during the first encounter. Avoid keeping several ammunition types for weapons you abandoned. If a teammate lands without a gun, ping a spare or share an accessible option when safe. The first goal is a squad capable of reacting together, not one player completing their ideal loadout.
Add recovery and complementary equipment
After basic offence, secure appropriate recovery and an option that complements your first weapon's useful range. Check the selected mode's inventory rules: a simplified Freestyle loot system should not be treated as a Core backpack tutorial. Inspect attachments or upgrade requirements through the current interface instead of assuming older hop-up behaviour. Do not spend a whole opening managing small upgrades while enemies approach. A small functional inventory is enough to begin moving with the team. Save detailed comparison for a covered pause after the immediate area is understood. Equipment supports the next action; it does not need to be perfect before any action is possible.
Choose a first fight only when support exists
Before challenging a nearby opponent, check teammate distance, weapons and cover. Hearing gunfire does not mean your squad is ready to join it. If one player has a weapon and the others are still unarmed, a short withdrawal toward shared cover may create a more playable fight. If an enemy blocks the only practical exit, concentrate pressure together rather than approaching from unrelated rooms one at a time. Ping the threat and state what you need, such as regroup at the lower door. Avoid chasing an isolated damage opportunity that takes you beyond the team's ability to assist.
Set a departure trigger before looting expands
Once the squad has basic equipment, check the ring and choose a covered next point. Leave sooner if nearby pressure or terrain will make the route difficult. The tempting next building may not improve the squad enough to justify a delayed rotation. Ask for essential missing resources specifically so the team can solve them quickly. If the area is quiet, a little more loot may be reasonable; if a long crossing is ahead, position may be the better resource. Keep the slowest player in the plan. An opening route fails when one well-equipped teammate leaves while the others are still trying to understand where the team went.
Troubleshoot the first recurring failure
If you repeatedly land unarmed, change the touchdown point or improve the backup decision rather than only blaming loot luck. If you die before teammates can help, shorten the connected route. If your squad survives but always rotates late, reduce optional searching and inspect the map earlier. Review the first minute as a sequence: landing, weapon, recovery, support and departure. Pick one broken link to improve next time. This approach remains useful when a map or format changes because it depends on functions, not an exact chest list. Keep named-location advice dated and verify it against the current island or arena layout.
Your working checklist
Checkmarks stay in this browser when storage is available. They do not alter your game or connect to your account.
Put it into practice
- Read the displayed drop format and agree on the local route before committing.
- Take separate connected loot spaces and redirect if the intended first pickup is already lost.
- Secure a usable weapon, matching resource and appropriate recovery before optional upgrades.
- Check squad readiness before the first fight and regroup instead of taking isolated duels.
- Choose the next covered destination and leave when the route or ring requires it.
Before you finish
- The route matches the actual drop system rather than an old universal Jumpmaster assumption.
- Teammates can reach each other through practical paths, not only short map distance.
- Picked-up ammunition or resources support the weapons currently carried.
- Optional looting stops before it removes the squad's next safe route.
Common questions
Is the busiest landing best for learning?
It offers frequent encounters but can deny time to understand basic equipment and team support. Choose a contest level that matches the skill you want to practise. A connected moderate drop often provides clearer feedback than repeatedly landing unarmed in the most crowded space.
Should I loot the exact same room as a teammate?
Usually spread across connected spaces so both players can find equipment. If enemies are already present, immediate mutual support may matter more than ideal distribution. Adjust from the actual landing rather than applying a rigid separation rule.
Why does my match use an assigned drop location?
Apex can use different opening formats. EA's current Ranked documentation describes both Dropship and Drop Zone systems. Read the loading-screen indication and organise the local route accordingly instead of assuming the interface is wrong.