Apex Armor and Healing: Read Shield Charge, Recover in Cover and Reset
Recovery in Apex is a sequence of decisions about cover, time and the protection you are missing. It is also mode-dependent: do not apply a Wildcard recovery habit automatically to Core. This guide uses EA references checked on October 18, 2026 and original tactical examples. It avoids fixed item timings and numerical armour tables. Check the current HUD, item description and selected mode when an update changes an upgrade, recovery or Shield Core interaction.
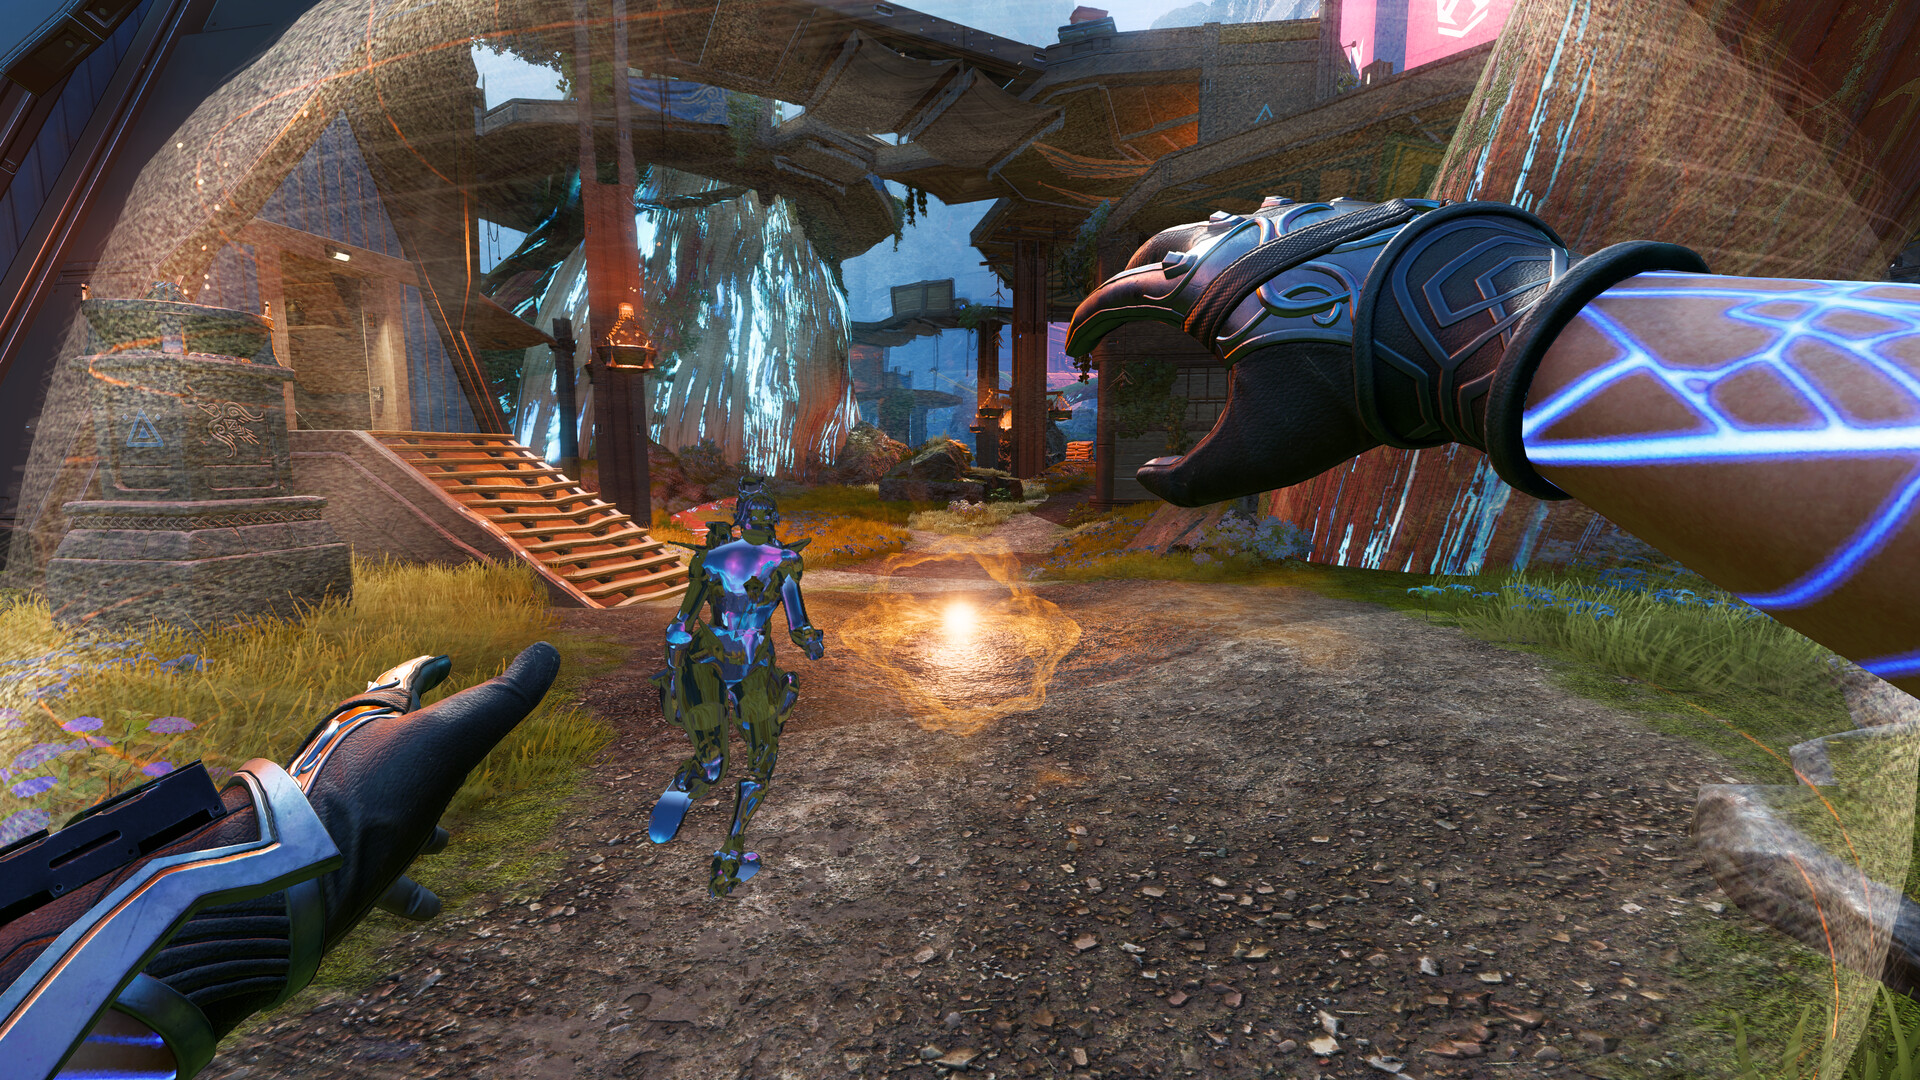
Official game screenshot · Electronic Arts. Publisher-provided public store media used to illustrate independent editorial discussion. Copyright remains with the respective rights holders; no redistribution license is offered.
Read health and shield charge separately
Look at which protection is missing before selecting an item. Shield recovery and health recovery solve different shortages, and a visually upgraded armour tier does not by itself mean the current protection is full. In Core, the current Shield Core system distinguishes the character's armour capacity from the charge held in the core. Inspect the actual charge rather than relying only on a colour. Avoid opening a death box to make that comparison while directly exposed. A quick accurate reading behind cover is more valuable than repeatedly selecting an item that cannot address the layer most urgently threatened.
Check the selected mode before relying on recovery
EA documents different healing and revival systems in Core and Freestyle. Read the actual playlist rules before expecting automatic recovery, a self-revive or a particular consumable to be available. When practising for Ranked, use the relevant Core rules rather than treating a simplified experience as a complete rehearsal. The same principle applies after an update: inspect a changed item once in safety and confirm what it restores and how its use can be interrupted. This guide's decision process remains useful, but a historical item description should never override the current game. Build the recovery plan from what your character can actually do now.
Create a recovery window before selecting the item
Break the enemy's direct view and consider the approach around your cover. A wall protects one side but may leave a doorway or roof exposed. Ask a teammate to watch the likely push while you recover, then trade roles so the whole squad can reset. If an opponent is already close, movement or a short defensive action may be necessary before a longer heal. Do not assume that crouching behind a small obstacle makes the interaction safe. Listen for pressure, retain an escape and be prepared to interrupt recovery when the situation changes. Finishing an item is not useful if the next shot immediately eliminates you.
Choose the reset that fits the available time
A brief window may support a small shield recovery or a move to better cover rather than a full health reset. A secure pause after a fight may allow a more complete refill and inventory check. Choose from the current item effects, your missing layers and the enemy's likely arrival. Do not apply a universal order mechanically. If ring pressure is the urgent threat, consider whether staying still costs more than the recovery gains. If a teammate needs immediate support, communicate whether you can return quickly or need them to withdraw. The best recovery is the one that restores a playable next action without pretending you have unlimited time.
Treat a Shield Core swap as an information decision
A core available in a death box can change your immediate protection, but compare the displayed charge and current rules before acting. Do not assume a colour means a fully restored higher-tier armour set. Some effects may be temporary or constrained by your current capacity. Practise reading the interface in a calm situation, then keep live looting brief. If an enemy watches the box, the potential benefit may not justify standing exposed. Cover and teammate pressure are part of the swap decision. Afterward, verify your actual bars so you know whether another recovery action is still needed before the next fight.
Reset the squad rather than one inventory
After a successful fight, take a defensible position and have someone watch while others heal or loot. Share a specific shortage through ping or a short call. One player with many batteries and another with none is a team problem even if both backpacks look full. Do not all crowd the same death box while a third party approaches. Reload, distribute necessary recovery and identify the next covered departure point. If the area is dangerous, take only what lets you continue and move. A prolonged perfect reset at the fight location can surrender the protection the victory was meant to create.
Diagnose unused supplies and repeated damage
If you repeatedly die with healing unused, inspect access, cover and retreat timing before simply carrying more. If you heal frequently but run out, examine whether optional exposed peeks are consuming resources without improving the position. If a swap surprises you with less protection than expected, practise reading charge and capacity separately. Keep one correction for the next match, such as retreating after the first meaningful protection loss or asking a teammate to watch before opening a box. Recovery skill begins before pressing a healing button. Reducing unnecessary incoming damage can preserve more supplies than any rigid inventory formula.
Your working checklist
Checkmarks stay in this browser when storage is available. They do not alter your game or connect to your account.
Put it into practice
- Identify the missing protection layer and check which current action can restore it.
- Break line of sight and secure the likely push before committing to a longer recovery.
- Choose a brief reset, fuller heal or movement according to the actual time window.
- Read Shield Core charge before swapping and verify the resulting bars afterward.
- Distribute essential supplies, reload and leave a dangerous fight location before optional looting.
Before you finish
- Armour capacity is not confused with currently available shield charge.
- Recovery expectations belong to the selected Core or Freestyle mode.
- A death-box interaction has cover and a reason, rather than being an automatic full refill assumption.
- The squad resets in stages so someone remains able to react to a new threat.
Common questions
Does an armour upgrade mean my shields are full?
Do not assume that. Read the actual charge and current upgrade behaviour on the HUD. Capacity, charge and temporary effects are different questions. An upgrade or swap can still leave a recovery decision to make before the next engagement.
Should I always use shield recovery before health recovery?
Choose according to the damage threat, missing layers, item behaviour and available window. Ring pressure or a close push can change the priority. A fixed order is less reliable than reading the current situation from cover.
Why does recovery feel different in Wildcard?
EA separates Core and Freestyle systems, including healing and revival behaviour. Check the playlist description and available items. If your goal is Ranked preparation, practise the Core process instead of assuming a simplified mode uses the same resource decisions.