Apex High Ground: Check Cover and a Way Down
Height can improve a view while exposing a squad to other directions. Evaluate the actual cover, supporting angles and exit before treating any roof or ridge as an automatic advantage.
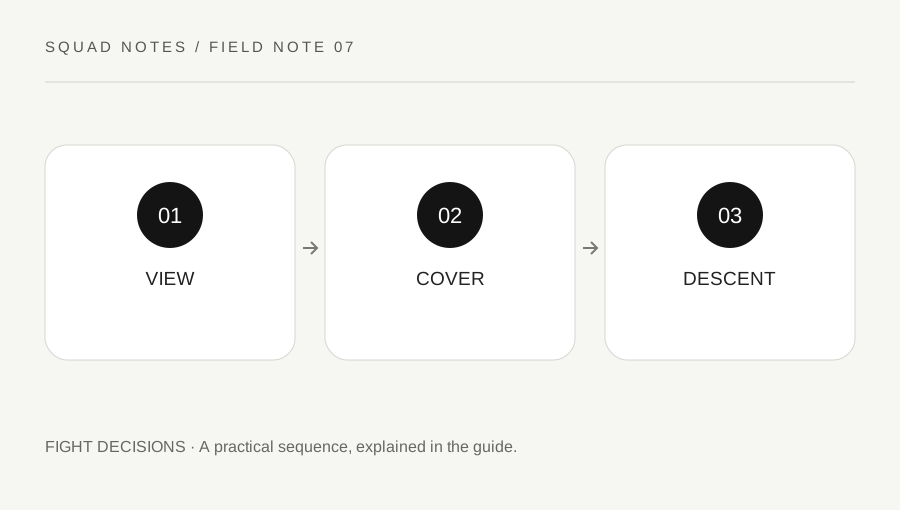
Original explanatory diagram. Examples illustrate a method or decision; they are not claims of personal testing.
Ask what the height actually gives you
A higher position may reveal an approach, separate an opponent from cover or make a route easier to observe. State that practical benefit. “We are above them” is less useful than “this ridge lets us watch the lane without crossing the open ground.”
Also identify what the position does not reveal. A roof edge can hide the ground immediately below, while distant teams may see a silhouette against the sky. Height is one geometric feature, not complete protection from every angle.
Use the actual location and current map geometry. This guide avoids promising a specific climb or movement interaction that could differ across maps and updates. Supported movement and clear observation are enough to ask the main question: does this position improve the squad's useful options, or only make the view look impressive?
Inspect cover at the firing position
Trace where your body must be to see and shoot. A high ledge without reachable cover can force a player to remain exposed during the entire exchange. Compare it with a lower position that offers a smaller view but a reliable reset.
Check side and rear approaches, not just the team below. A squad concentrating on one low target can miss another team reaching the same ridge. Spread attention through clear calls rather than assuming every teammate is watching every direction.
For a worked example, a rooftop offers a strong forward angle but no safe cover from the neighboring hill. The squad can choose a different part of the roof, reduce exposure or leave. The answer is not automatically to stay because the current opponent is lower. The relevant comparison includes every credible angle, not only the one producing damage now.
Keep a usable descent or retreat
Before committing, identify how the squad can leave if pressure changes. A jump to open ground may surrender the advantage and create a dangerous landing. A route that only one teammate can use with an available ability may not be a squad exit.
Keep movement resources connected to the plan and read their current in-game behavior. Do not assume an ability is ready, reaches the desired point or transports everyone simply because a familiar icon is present. Confirm the useful information without a long discussion.
If the ring makes the height temporary, consider departure while options remain. This is not a replacement for the site's ring-rotation guide; the question here is whether the current fighting position has an exit before it becomes a trap. A strong view can lose value quickly when the next required movement is ignored.
Review the whole position rather than one damage number
After the encounter, ask which angles the height controlled and which angles controlled you. Dealing damage from above can still leave the squad in a poor position if it cannot recover, move or support a teammate below.
Try a practice review with a recording or a clear memory: mark the initial cover, the first exposed peek and the intended exit. If the squad dropped to chase a target, note what changed after the drop. Do not attribute the entire result to aim if the descent removed all supporting angles.
Finish with one adjustment, such as checking the rear approach before settling on a ridge or naming a shared route down. Height becomes useful through cover, information and movement options. A simple checklist preserves those relationships without claiming that every high position should be taken or held regardless of the surrounding fight.
A practical checklist
Choices are saved in this browser. Reset them here or clear this site’s browser storage.
Questions that come up
Is high ground always better?
No. Cover, other angles, ring timing and the exit can make a lower position more useful. Evaluate the complete situation.
Should I drop immediately after damaging someone below?
Not automatically. Check where you will land, whether the squad can support it and what options disappear after the drop.
Can one movement ability count as everyone’s exit?
Only if its current behavior and availability actually support the squad. Do not assume every teammate can follow the same route.
References & scope
Background references checked on 18 October 2026. Worked examples and diagrams are original teaching material.