Apex Sensitivity Changes: Test One Variable in the Firing Range
A copied sensitivity number does not describe your whole input setup. Record the current configuration, choose one measurable task and compare a small change before using it in a match.
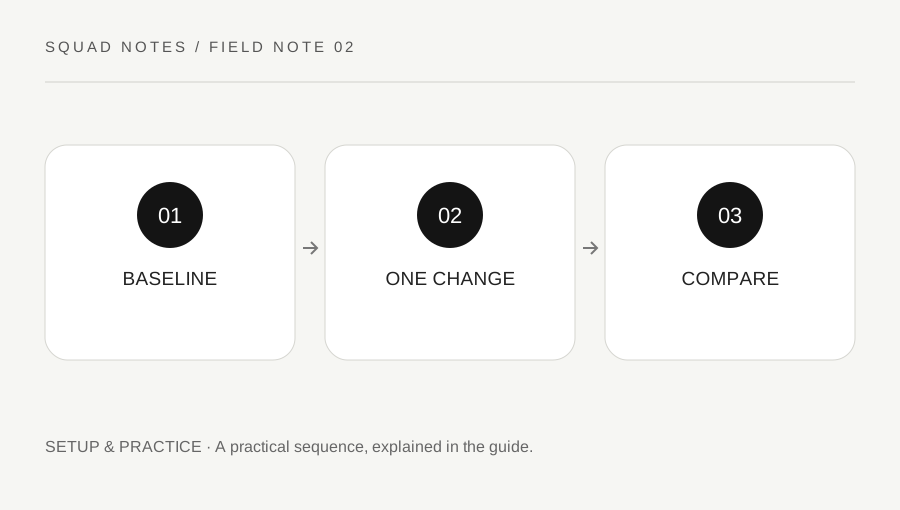
Original explanatory diagram. Examples illustrate a method or decision; they are not claims of personal testing.
Record the setup you actually use
Write the input device, platform and the relevant in-game values before changing anything. Mouse sensitivity can interact with device DPI, while controller settings involve their own response and deadzone options. Do not treat a number from another player's device as a complete transferable setup.
Use the current in-game menu and EA's official settings guide for available controls. Menu labels and options can change, so this article avoids prescribing a permanent sequence of clicks or a universal professional value. Keep a screenshot or written baseline that lets you restore the original configuration.
Choose a comfortable physical position and enough space for the intended movement. If the problem is discomfort or an unsuitable device arrangement, repeated numerical changes may not solve it. Stop if practice causes pain and seek appropriate ergonomic or instrument-specific device advice when needed.
Define a task before moving a slider
Choose a small Firing Range task such as moving the reticle between two fixed targets, tracking one moving target or turning toward a named landmark. Use the same weapon, optic and approximate distance for the comparison. A test that changes all of those at once cannot isolate the sensitivity variable.
Describe the observation in ordinary terms: repeatedly overshot the target, ran out of comfortable movement space or had trouble making a small correction. Do not claim a precise improvement percentage from an impression. A short set is a learning comparison rather than a laboratory measurement.
If you already know the site's aim and recoil routine, use it to keep the mechanical task consistent. This page focuses on configuration comparison, not a replacement for recoil learning or a promise that settings alone improve match decisions.
Change one input setting and repeat
Make a modest change to one relevant value and repeat the same task. Keep the baseline available. If several controls interact in your setup, record that relationship rather than assuming each slider can be interpreted independently. Use supported in-game settings and avoid scripts or modifications that automate play.
For a worked example, a player consistently passes a stationary target during a controlled turn. They try a slightly lower sensitivity, repeat the same start and destination positions and note whether the correction becomes easier. This does not prove that every fight will improve or that a lower value is always better.
Return to the original value if the change makes the task less comfortable or less clear. A comparison is useful even when it rejects the proposed adjustment. Endless changes without a stable reference make later impressions difficult to interpret.
Check transfer without chasing every result
After a controlled comparison, use the chosen setup in a low-pressure available mode and observe one related task. Match outcomes also depend on opponents, positioning and squad decisions, so a single win or loss cannot validate the setting.
Keep the configuration stable long enough to learn it unless a clear problem appears. If the reticle feels inconsistent only during frame drops or connection problems, investigate those conditions separately. Sensitivity is not a repair for packet loss or a stuttering display.
Finish with the baseline, the tested change and the reason for retaining or rejecting it. A useful result might be “small corrections were easier without uncomfortable turns” rather than “this is the best sensitivity.” That record helps you make later adjustments deliberately instead of replacing the entire setup after each difficult encounter.
A practical checklist
Choices are saved in this browser. Reset them here or clear this site’s browser storage.
Questions that come up
Is there one best sensitivity for everyone?
No. Device, platform, physical space, comfort and the task matter. A controlled comparison is more useful than a number copied without context.
Should I change settings after every loss?
No. Identify the actual issue first and retain a stable baseline. Positioning or coordination problems may have little to do with input sensitivity.
Can a script make the test easier?
Use supported controls and ordinary practice. Automation that plays or compensates for you changes the task and can violate the game’s rules.
References & scope
Background references checked on 18 October 2026. Worked examples and diagrams are original teaching material.